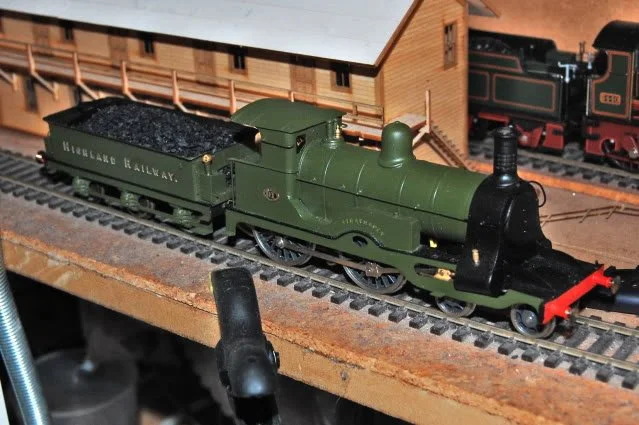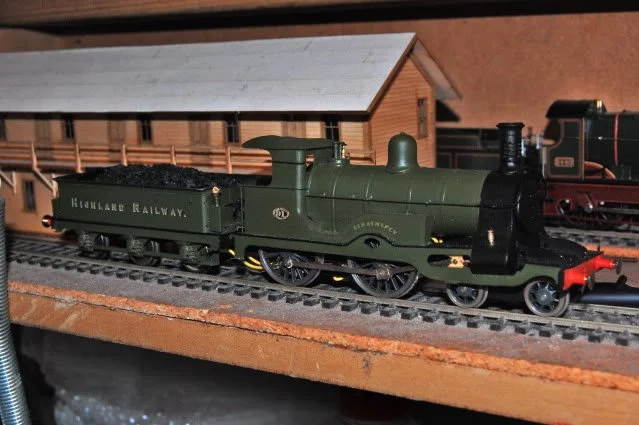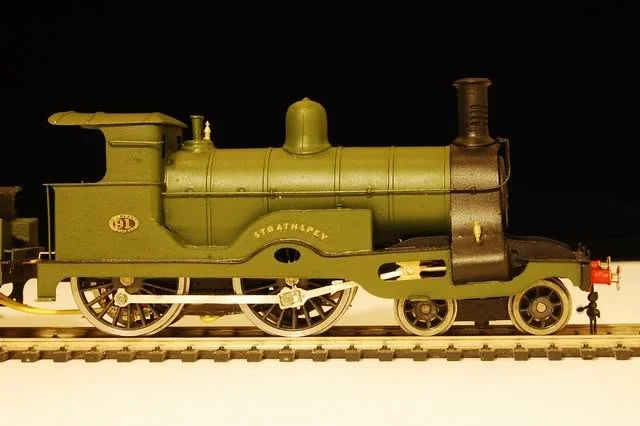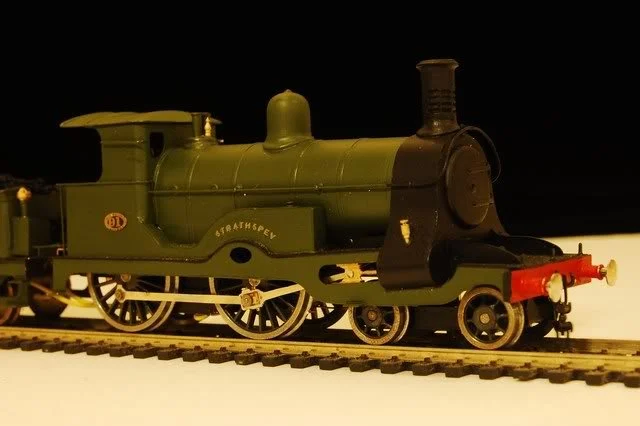
Highland Railway Strath
This was a Superb kit. I absolutely loved building it. The fact that everything went together exactly as it was intended meant that building it was motivating me to add the next part rather than dreading what comes next!
It's really great when you get a decent kit to build and it goes together exactly the way its supposed to!
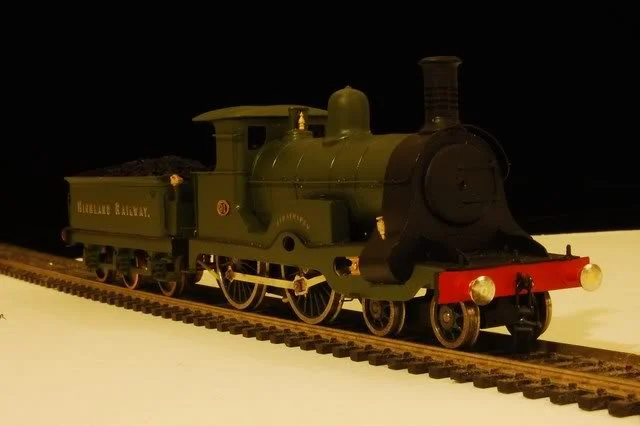
In this case it was a Highland Railway Strath. Twelve were built in 1892 to a design by David Jones. They were a development of the Clyde Bogie class and several lasted into LMS ownership. The last being withdrawn in 1930.
The kit was designed by Alistair Wright and is now available from Lochgorm models
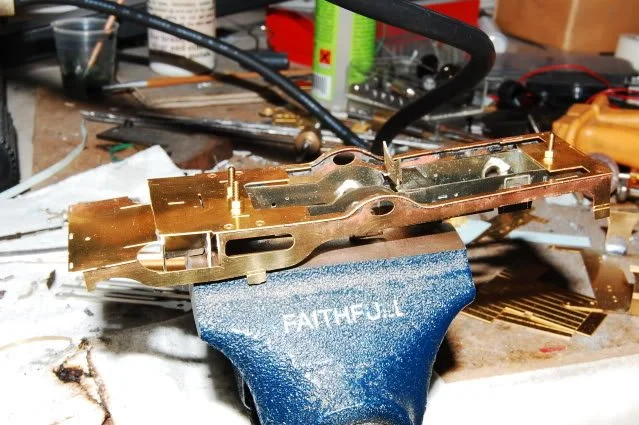
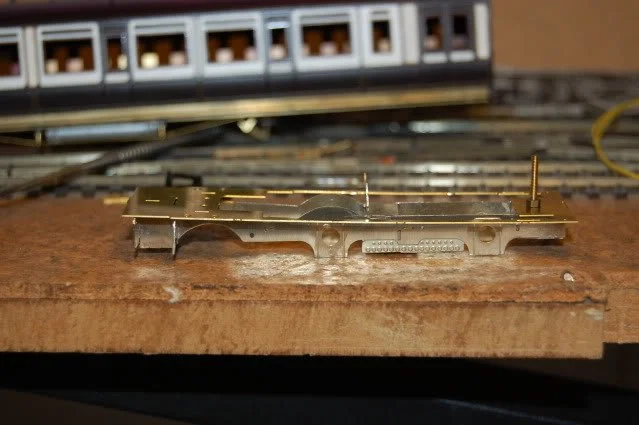
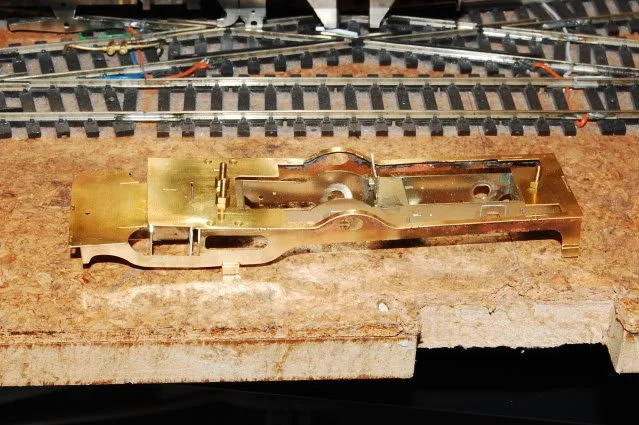
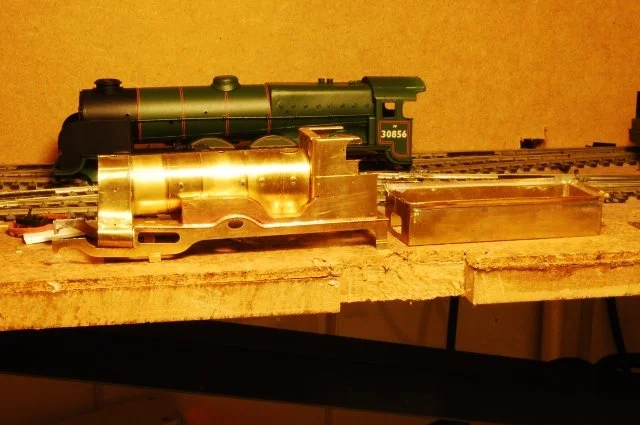
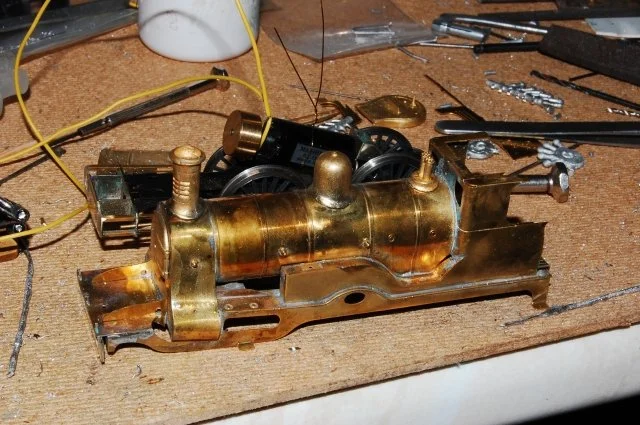
The first job was to solder the chassis together and offer up the footplate.
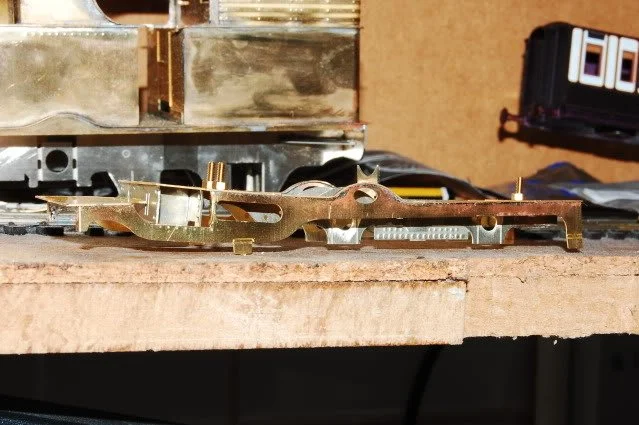
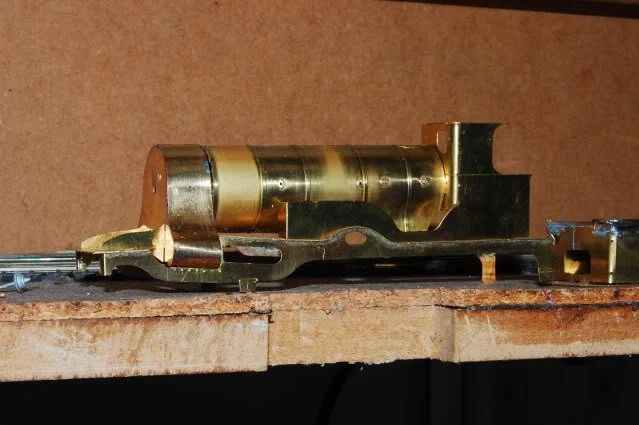
Next job was the splashers and cab. all fairly painless but I decided to do the boiler and smokebox at the same time.
Here comes my biggest criticism of this kit… There is only a single wrapper for the smokebox and because it also forms the cylinders, it’s quite a complicated shape to form. A spare or two would have been very welcome.
I formed it correctly first time but it wasn’t an easy job. Just bending it a little more each time and offering it up. Take your time and it will be fine.
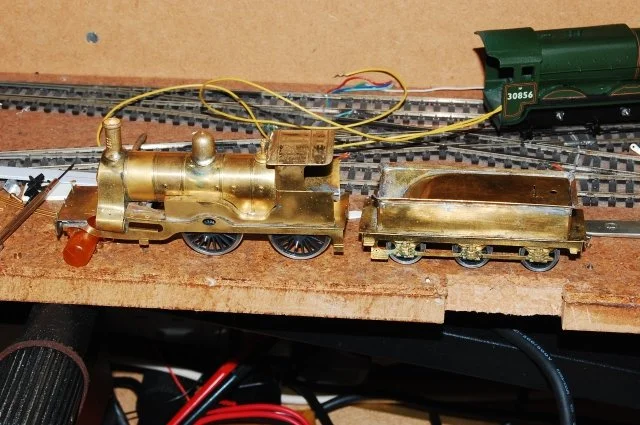
From then on it’s home and dry with this kit. It’s just a case of adding the various details.


Next, solder the valance into position. This was a job I was dreading but went painlessly due largely to my access to a resistance soldering iron. Its great to be able to push the footplate into the curves, tap the footpedal and let the current do its job. I think with a conventional iron this would have been quite a tricky job.
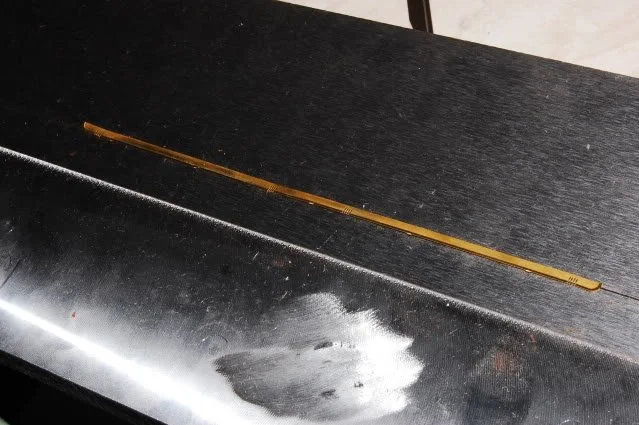
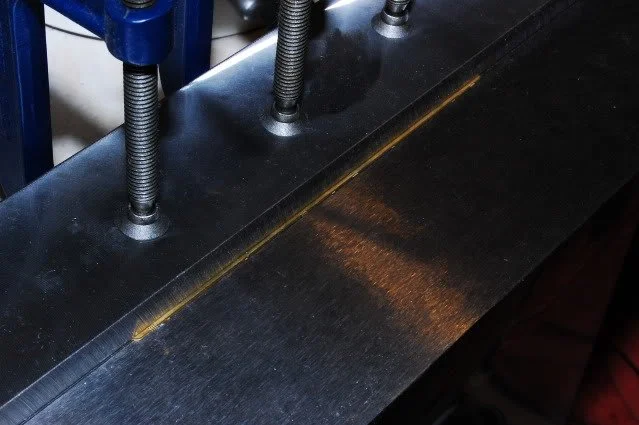
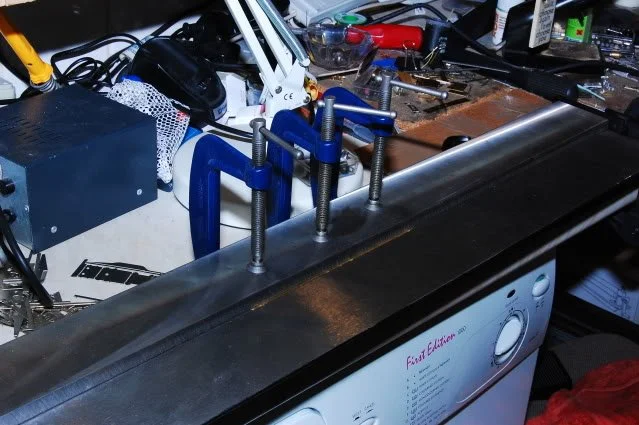
Its really great when you have the right tool for the job to hand. And it shows in the results! This loco was my introduction to tender flares. But fortunately I had a very large folding tool that although completely overkill for anything I am ever likely to do, was perfect for the job!
The flare came in the form of a thin strip that needed bending along its entire length. I can’t think of another way of doing this.
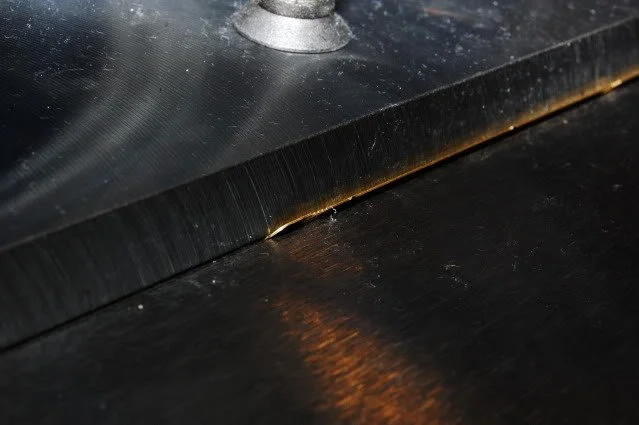
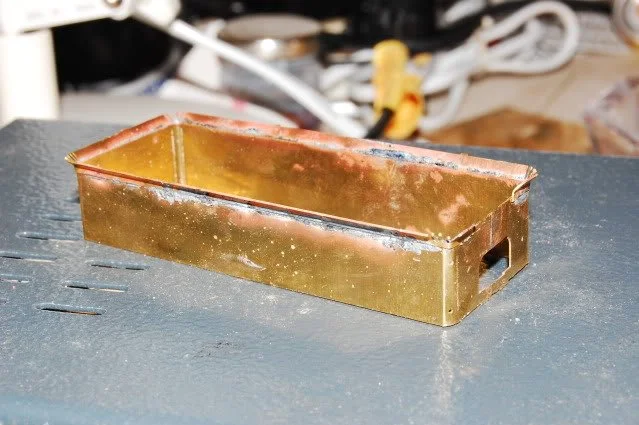
After forming the curve, its just carefully soldered along the top of the tender body.
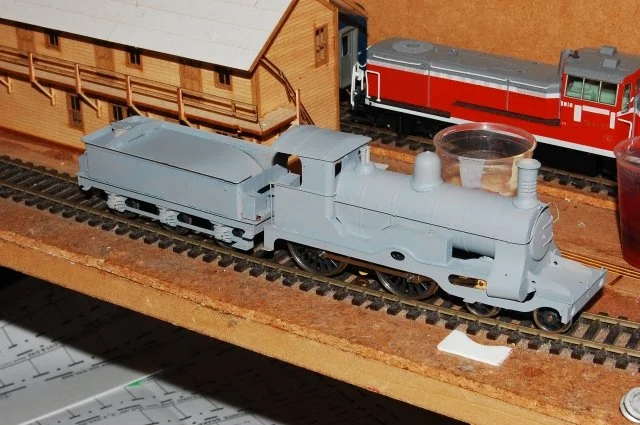
The painting process was fairly conventional.
Thoroughly cleaned and degreased before being given a coat of etch primer
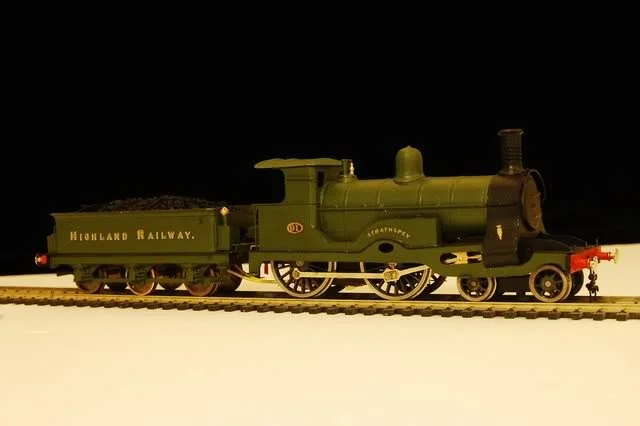
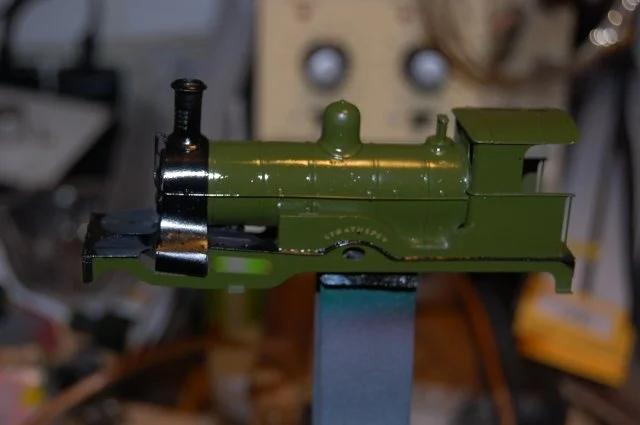
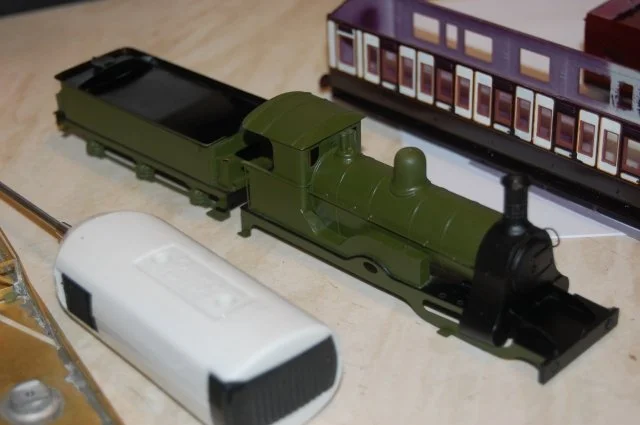
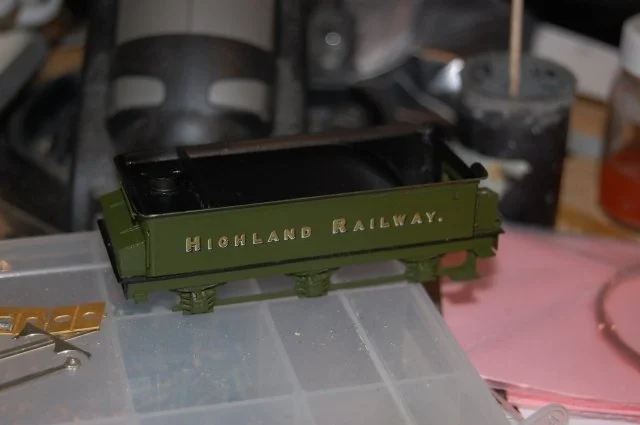
I managed to get a tin of Phoenix Precision Highland Railway green! It’s a very nice colour indeed.
Regrettably I neglected to take a picture of the loco in the bare green.
I Then comes the moment I dread! Spraying the gloss varnish so the decals will stick! Suddenly the model goes from looking like a thing of beauty to a toy choo choo!
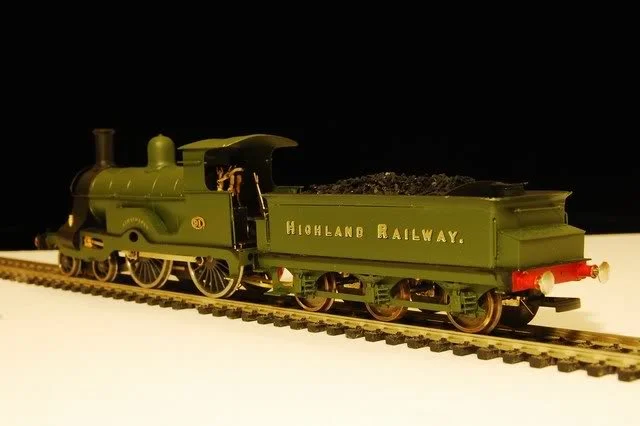
Decals go on. In this case, Fox Transfers happened to have the correct decals for both the tender lettering and also a sheet of names to go over the splasher. This saved me a huge amount of work!
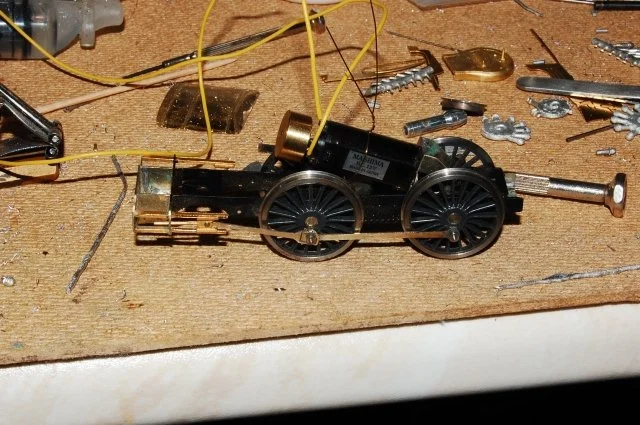
Coming back to the chassis for a moment, The loco received my usual formula of a High Level models gearbox and a Mashima 10x24 motor. I fitted a 54:1 gearbox. The loco ran a little on the quick side and if I were to do it again, I would fit a 108:1 box instead.
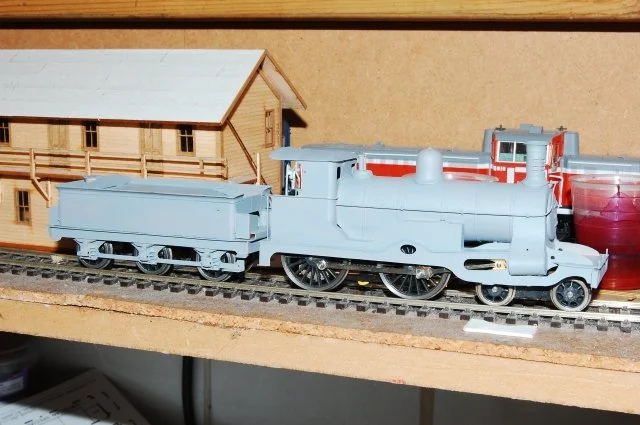
I am very happy with the result. There were some constraints placed upon it. It had to be able to negotiate some tight corners (far tighter than the kit was ever designed for) and so I did have to modify the front bogie and turn the flanges of the centre wheels on the tender.
Due to its fairly unique shape, It’s not an easy kit but it is well designed and goes together well. I would be very happy to build another.